Overview
All Strategy users have access to an Admin tool called User Networks. (See image).
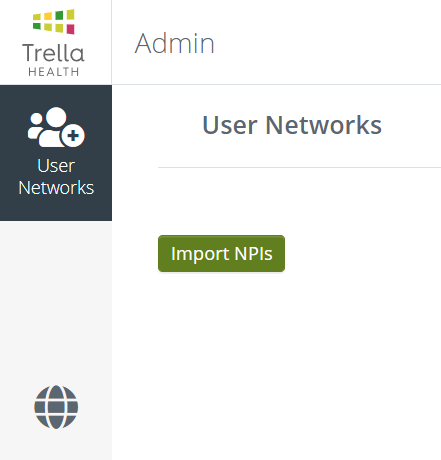
This page in the Admin tools has one button - "Import NPIs"
This tool allows you to either create a new network from a spreadsheet of NPIs, or you can add more NPIs to an existing list.
Create the Spreadsheet
The process for adding NPIs to either a new or existing network is straightforward.
- Open a new spreadsheet
- In the first column, enter all of the NPIs you want to add to your network.
- Save the spreadsheet.
Creating a new network
Once your spreadsheet is completed, click "Import NPIs"
![]()
You will be prompted to choose whether you want to import your spreadsheet of NPIs into a new or existing Network.
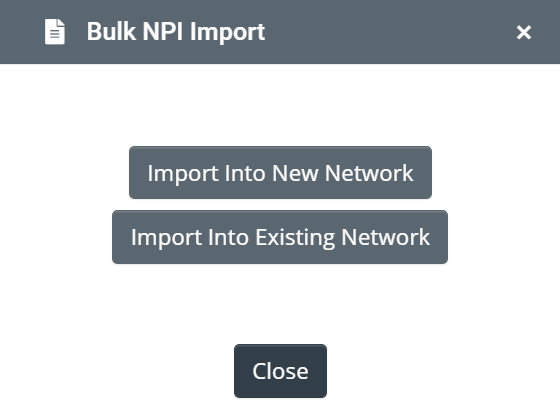
For this example, we will import into a new network.
The following dialog box will appear with a bubble of helpful tips and a dialog box of fields you need to fill out.
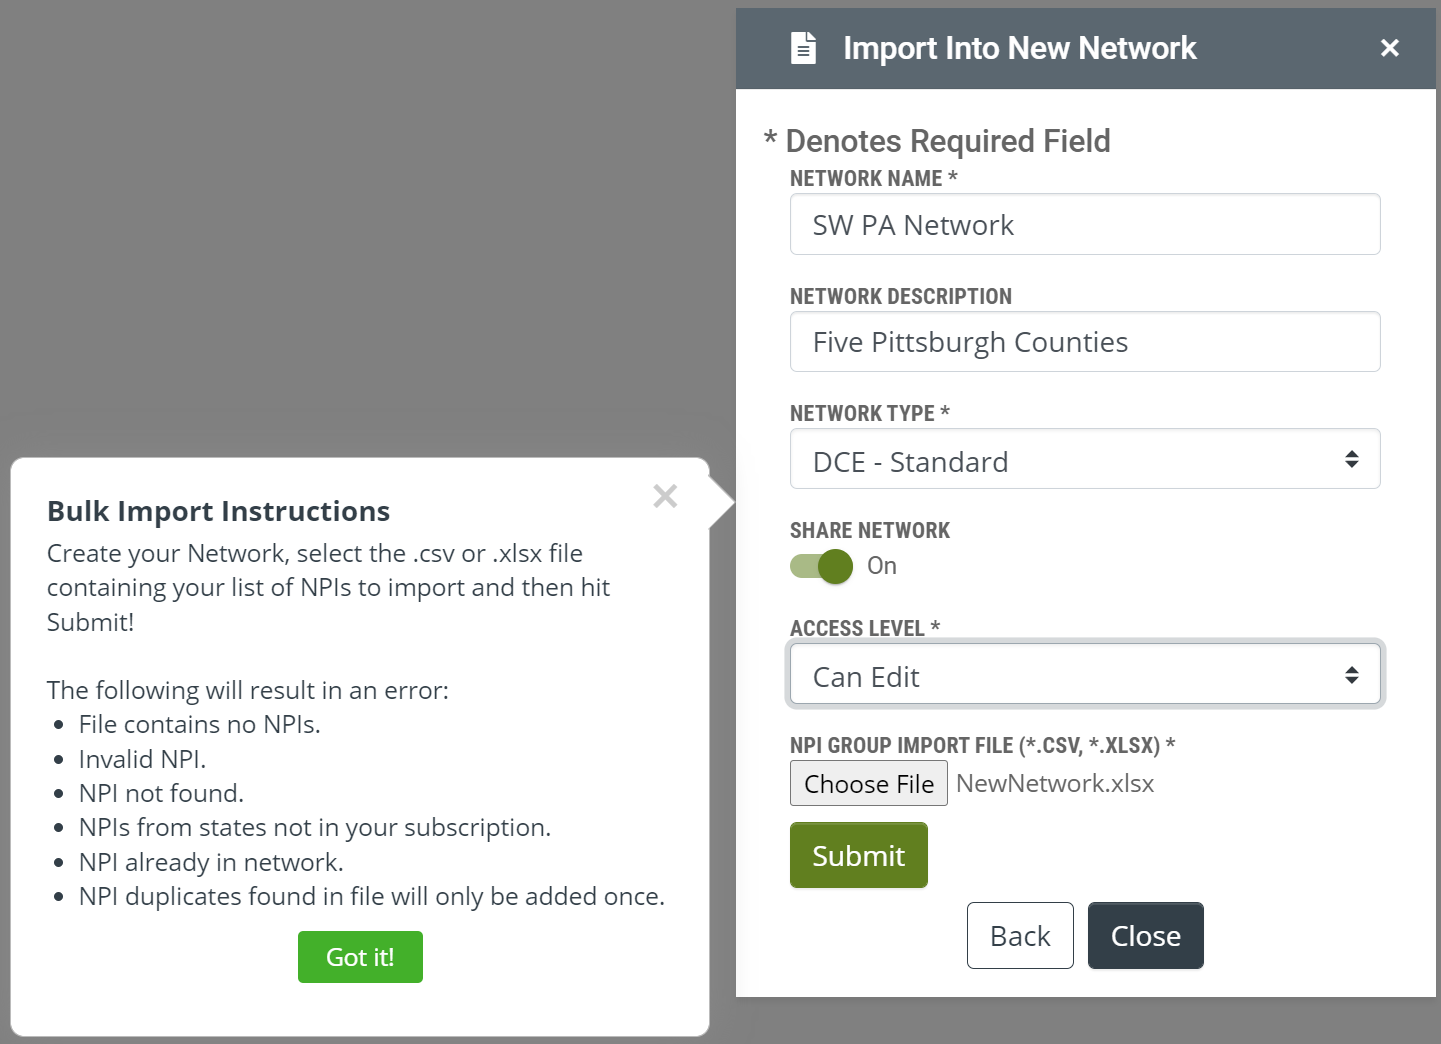
- Network Name - Choose a simple name that is easy to identify
- Network Description - Add more details if desired.
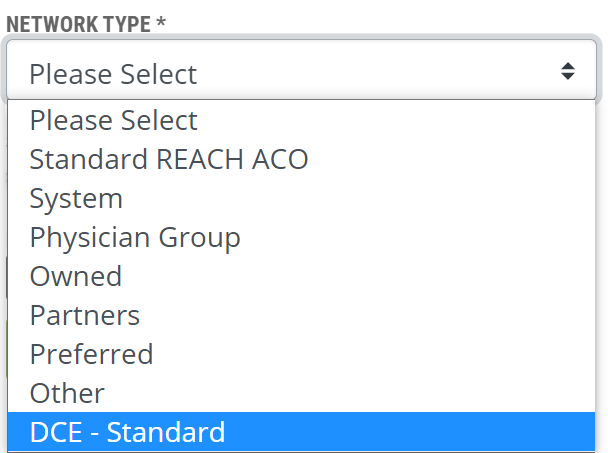
- Network Type - You can choose a network type. This identifier is useful to help you to categorize your networks, but it does not change how the network works in any way.
- Share Network - If you turn this toggle on, other users in your company will be able to see this network you are creating.
- Access Level - A shared network can either be "View Only" or "Can Edit."
- NPI Group Import File - Choose File - Click the "Choose File" button to navigate to your saved Spreadsheet. In the image above, you can see that we have selected our file - NewNetwork.xlsx
When you have selected your file, click the "Submit" button.
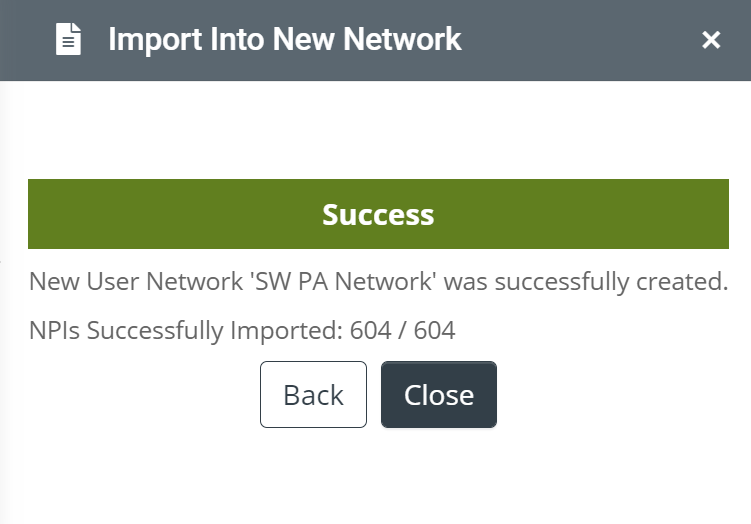
You will receive the following confirmation. Notice that for our upload we have imported 604 NPIs into our new network.
Adding to an Existing Network
The process for adding to an existing network is almost identical to a new account.
1. Click on "Import NPIs."
2. Click on "Import into Existing Network."
This is where the process is slightly different. Instead of setting up a new network name and description, etc., you will select an existing account. In the image below, we have selected the network we created above.
3. Choose an existing network.
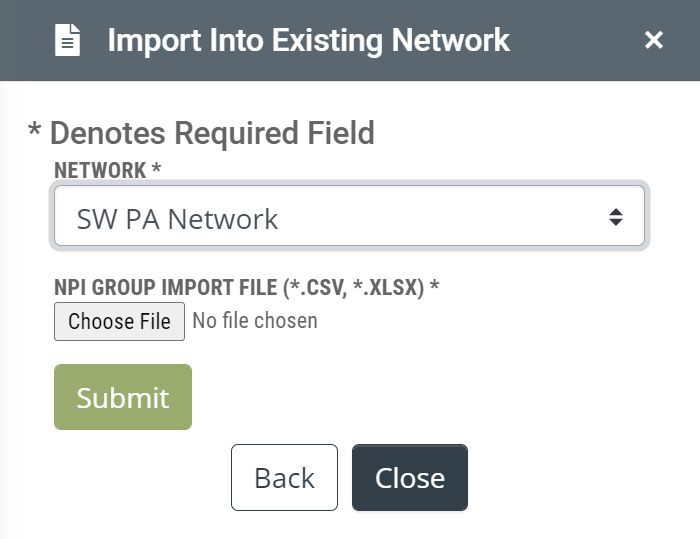
4. Click "Choose File" to navigate to your spreadsheet
5. Click "Submit"
You will receive a confirmation of the uploaded NPIs.